दोस्तों, सोचिए आप ChatGPT को सिर्फ एक topic दें और AI उस topic पर पूरा article तैयार करने के साथ उसे आपकी WordPress site के Draft में भी पहुंचा दे। आपको बार-बार content copy करना, WordPress खोलना और title-content paste करके Draft save करना ही न पड़े।
यही काम ChatGPT WordPress Automation से किया जा सकता है। AI की मदद से आप किसी भी topic पर article तैयार करवा सकते हैं और एक automation workflow के जरिए उसे सीधे WordPress में Draft के रूप में भेज सकते हैं। खास बात यह है कि article अपने आप publish नहीं होगा—final review और Publish का control आपके पास ही रहेगा।
इस guide में मैं आपको पूरा ChatGPT to WordPress workflow आसान भाषा में समझाऊंगा—AI से article तैयार करवाने से लेकर WordPress connection और WordPress Auto Draft बनाने तक। साथ ही यह भी देखेंगे कि ऐसा setup कैसे रखें जिससे गलत formatting या बिना review वाला content सीधे publish न हो।
ChatGPT WordPress Automation असल में काम कैसे करता है?
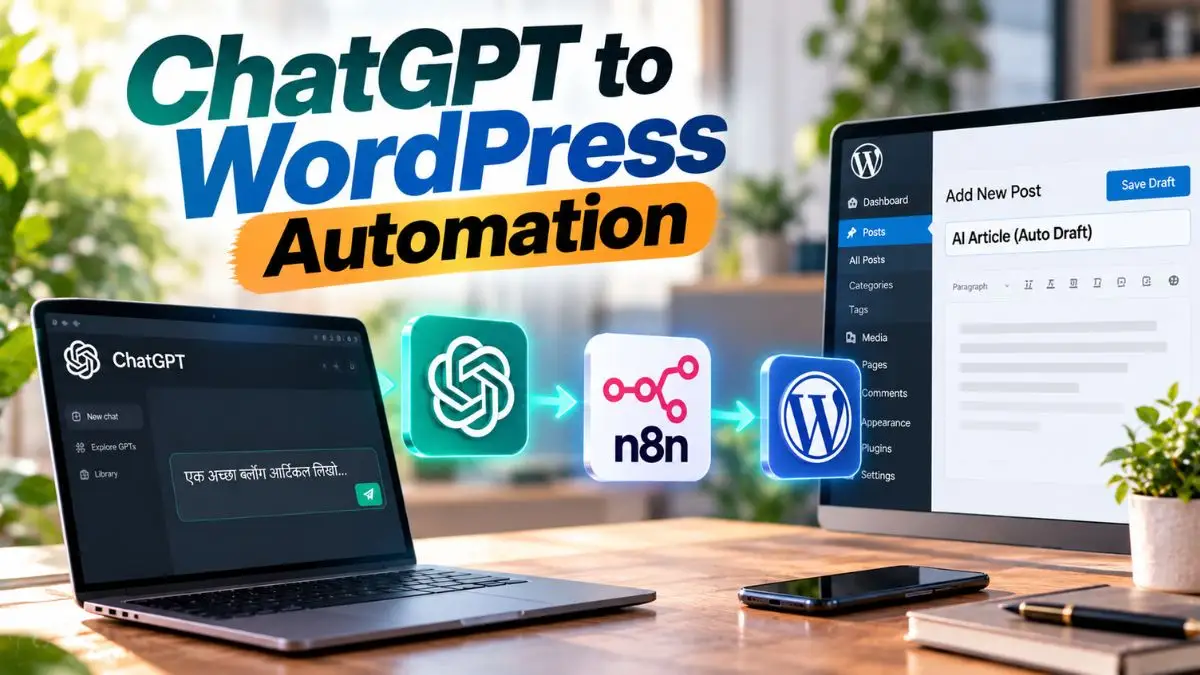
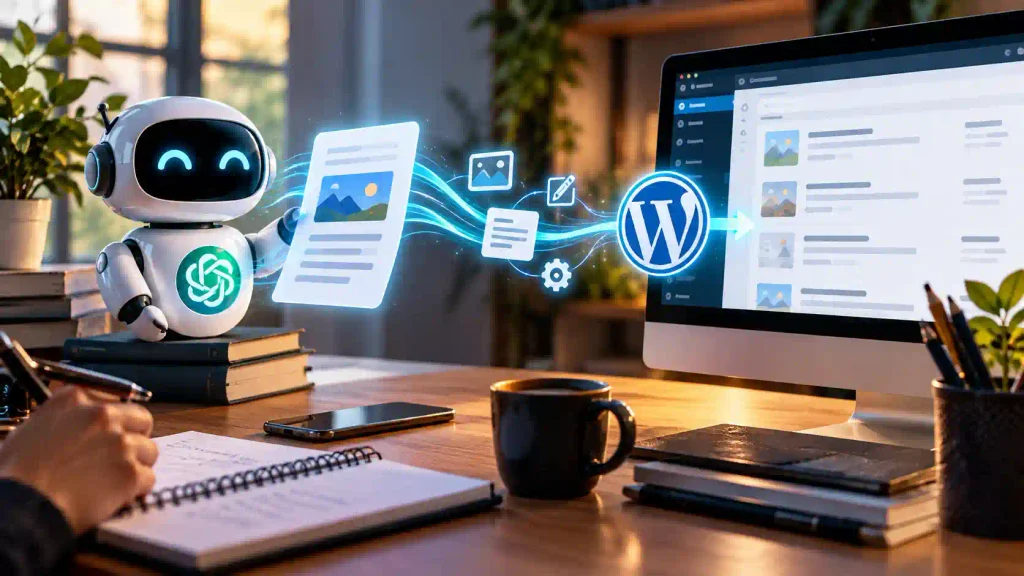
दोस्तों, इसका काम सीधा है—आप topic और instructions देते हैं, ChatGPT article तैयार करता है और automation उसे आपकी WordPress site के Draft में पहुंचा देता है।
Topic → ChatGPT → Automation → WordPress Draft
यानी हर बार article copy-paste करके Draft बनाने की जरूरत नहीं। सबसे अच्छी बात, article सीधे Publish नहीं होता। आप पहले Draft में content, links और formatting check करेंगे, फिर खुद Publish करेंगे।
आगे इसी ChatGPT WordPress Automation को actual tools के साथ step-by-step setup करेंगे।
Auto Publish नहीं, Auto Draft क्यों रखें?
मेरे अनुभव से AI article को सीधे Auto Publish करवाना सही shortcut नहीं है। AI से अच्छा content मिलने के बाद भी कभी कोई fact, link या formatting ऐसी निकल सकती है जिसे Publish करने से पहले ठीक करना जरूरी हो।
इसलिए मैं यह workflow बेहतर मानता हूं:
AI Article बनाए → WordPress Draft में आए → आप Review करें → Publish करें
इससे AI Article Automation समय बचाता है, लेकिन website पर क्या live होगा उसका final control आपके हाथ में रहता है। Publish से पहले बस facts, links, headings और images एक बार जरूर check करें।
ChatGPT को WordPress से Connect करने के लिए क्या चाहिए?
दोस्तों, इसके लिए कोई बहुत complicated setup नहीं चाहिए। आपको बस अपनी WordPress website, एक automation tool जैसे n8n, और WordPress का Application Password चाहिए।
Application Password को आप WordPress Dashboard से अलग से बना सकते हैं। इसी की मदद से n8n आपकी website से securely connect होकर नया Draft बना पाएगा। इसके लिए अपना main WordPress login password automation में डालने की जरूरत नहीं है।
आगे हम यही connection बनाकर ChatGPT से तैयार article को WordPress Draft में भेजेंगे
Step 1: WordPress Application Password बनाएं
सबसे पहले WordPress Dashboard में Users → Profile → Application Passwords पर जाएं। यहां AI Automation जैसा नाम डालकर नया password generate करें और उसे सुरक्षित रख लें। यही password automation को WordPress से connect करने में काम आएगा। अपना main WordPress login password share करने की जरूरत नहीं है।
Step 2: ChatGPT से Article को सही Format में तैयार करवाएं
Automation के लिए सिर्फ “इस topic पर article लिखो” कहना काफी नहीं है। ChatGPT को पहले से बताएं कि output किस format में चाहिए:
Title → Article Content → Excerpt → Slug
इससे automation आसानी से पहचान पाएगा कि कौन-सी information WordPress के किस field में जानी है और हर article को manually अलग करने का काम कम होगा।
Step 3: WordPress के लिए API Request बनाएं
अब अपने automation tool में WordPress के लिए HTTP/API request जोड़ें। नई post create करने के लिए WordPress का Posts endpoint इस्तेमाल होता है:
POST /wp-json/wp/v2/posts
यहां Title, Content और Status = Draft भेजना है। जरूरत हो तो बाद में Excerpt, Slug, Category और Featured Image जैसी fields भी जोड़ी जा सकती हैं।
Step 4: ChatGPT Output को WordPress Fields से जोड़ें
अब ChatGPT से आया Title → WordPress Title और Article Content → WordPress Content से map करें। इसी तरह Excerpt और Slug को भी उनकी सही fields में भेजें। शुरुआत में automation को ज्यादा complicated न बनाएं। पहले Title + Content + Draft सही तरीके से काम करवा लें, फिर बाकी options जोड़ना आसान रहेगा।
Step 5: एक Test Draft जरूर भेजें
Automation तैयार होते ही कई articles चलाने की बजाय पहले एक Test Draft WordPress में भेजें। Draft खोलकर Title, H2/H3 headings, paragraphs, links और formatting check करें। साथ ही यह जरूर देखें कि post Draft में ही आई है, Publish नहीं हुई।
सब सही मिले तो आपका basic ChatGPT WordPress Automation काम करने के लिए तैयार है।
इस Automation को और Useful कैसे बनाएं?
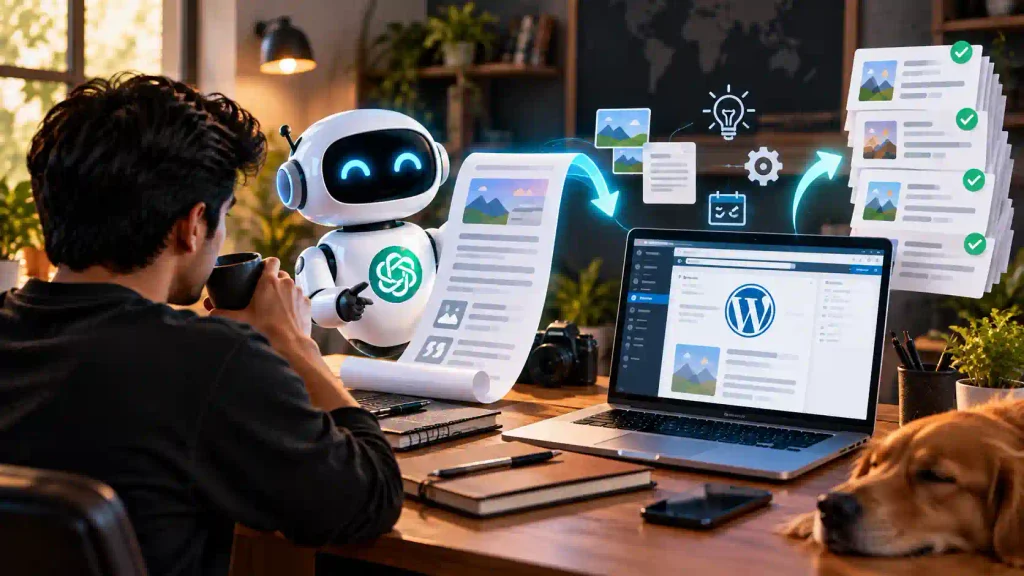
दोस्तों, ChatGPT WordPress Automation का असली फायदा तब दिखता है जब आपके पास एक साथ 10–20 article ideas हों। हर topic को अलग-अलग ChatGPT में डालना और फिर WordPress में copy-paste करना भी repetitive काम बन जाता है।
ऐसे में Google Sheets को अपनी Content Queue बना सकते हैं:
Google Sheets → ChatGPT → Content Formatting → WordPress Draft → Status Update
आप Sheet में Topic, Keyword और Instructions जोड़ें। Workflow उसी data से article तैयार करके WordPress Draft में भेजे और काम पूरा होने पर Sheet में Draft Created status लगा दे।
इससे एक ही Sheet में साफ दिखाई देता रहेगा कि कौन-सा topic pending है और किसका Draft तैयार हो चुका है। बस ध्यान रखें—automation को पहले छोटे workflow पर अच्छे से test करें, उसके बाद ही ज्यादा articles पर चलाएं।
सबसे Common Problem: Draft बन गई, Formatting खराब है
Automation successful होने का मतलब यह नहीं कि workflow perfect है। अगर WordPress में article पहुंच रहा है लेकिन headings और paragraphs बिगड़ रहे हैं, तो सबसे पहले ChatGPT का output format देखें। AI को शुरुआत से साफ instructions दें कि H2/H3 hierarchy कैसी होनी चाहिए और output में unnecessary markdown या extra labels नहीं आने चाहिए।
इसी तरह authentication error आने पर WordPress username, Application Password, HTTPS और API endpoint check करें।
पहले content generation और WordPress Auto Draft को reliable बनाइए। Featured image, categories, tags और बाकी advanced automation बाद में जोड़ना ज्यादा आसान रहेगा।
क्या इससे Blogging पूरी तरह Automatic हो जाएगी?
हां, AI Article Automation से topic लेने से लेकर article बनाकर WordPress Draft तक भेजने का काफी काम automate किया जा सकता है। लेकिन मैं पूरी website को बिना review AI के भरोसे चलाना सही नहीं मानता।
AI आपका समय बचाए, आपकी जगह फैसला न करे। Draft आने के बाद facts, screenshots, internal links और अपने practical experience जैसी चीजें खुद जोड़ें। यही छोटी details article को सिर्फ AI-generated content की बजाय reader के लिए genuinely useful बनाती हैं।
मेरे लिए सही तरीका है—repetitive काम Automation करे, final quality इंसान संभाले।
FAQs अक्सर पूछे जाने वाले सवाल
क्या ChatGPT article सीधे WordPress में भेज सकता है?
हां, बीच में API या compatible automation workflow का इस्तेमाल करके ChatGPT से तैयार content को WordPress post में भेजा जा सकता है। WordPress REST API external applications को content create और manage करने की सुविधा देता है।
क्या article अपने आप Publish करना जरूरी है?
नहीं। Post status draft रखकर content को पहले WordPress Draft में भेजा जा सकता है।
क्या WordPress का main password देना पड़ेगा?
Application Password इस्तेमाल करने पर automation के लिए अलग credential बनाया जा सकता है। WordPress external REST API authentication के लिए Application Passwords support करता है।
क्या बिना Coding के ChatGPT WordPress Automation बनाया जा सकता है?
हां, अगर आपका automation platform WordPress integration या HTTP/API requests support करता है तो basic workflow बिना custom application लिखे बनाया जा सकता है। हालांकि REST API की basic समझ troubleshooting में काम आती है।
Beginners को पहले कौन-सा workflow बनाना चाहिए?
सबसे पहले Topic → ChatGPT → WordPress Draft रखें। जब यह reliably काम करने लगे, तभी featured image, category, Sheet tracking या दूसरे advanced steps जोड़ें।
आखिर में
दोस्तों, ChatGPT WordPress Automation का असली फायदा मेरे लिए ज्यादा articles publish करना नहीं, बल्कि हर article के साथ होने वाला बार-बार का copy-paste काम कम करना है। AI article तैयार करे, automation उसे WordPress Draft तक पहुंचा दे और final review आप खुद करें—इससे समय भी बचता है और content की quality पर आपका control भी बना रहता है।
शुरुआत एक छोटे workflow से करें और पहले एक Draft सही तरीके से WordPress तक पहुंचाकर देखें। उसके बाद जरूरत के हिसाब से इसमें बाकी automation जोड़ सकते हैं। और अगर आप यह workflow बनाने वाले हैं, तो Comment में बताइए—आप सबसे पहले ChatGPT से WordPress Draft तक कौन-सा काम automate करना चाहेंगे?
नीचे लिखे अन्य लेख भी देखे:-